Did you all have a great weekend? What did you dress up as for Halloween? We had an incredibly mellow weekend. It was bliss.
This is a post I've been wanting to do for quite some time. For me, frosting a layer cake was up there with making a pie crust from scratch. I knew it could be done, but I could not figure out how to both make it both taste good and LOOK good. It took me years, many articles, and many lopsided cakes, to figure out a technique for frosting a layer cake. I'm still no where near perfect, but I thought I'd compile my steps here, both for my reference and yours. These directions won't give you anything fancy, but they will give you a well-presented, scrumptious looking cake. I hope this post convinces you to give it a try. They really are beautiful, and with the right steps, not hard ... just a little more time consuming than a sheet cake. And, if you've been doing this for years, please chime in with your hints and suggestions! :)
Assembling the layer cake
First, bake two layers of a cake. May I suggest this white chocolate lemon cake or this vanilla cake with rich chocolate frosting? Let your cake cool completely.

Decide what surface you'd like your cake to be presented on. This can be a plate, a cake plate, or the bottom of your spring form pan (above). Just make sure you're positive before you begin. Once you start frosting, there is no switching surfaces. Once you've decided on a surface, tear off wax paper or parchment paper and lay on the edges of your surface. This makes clean up a breeze.
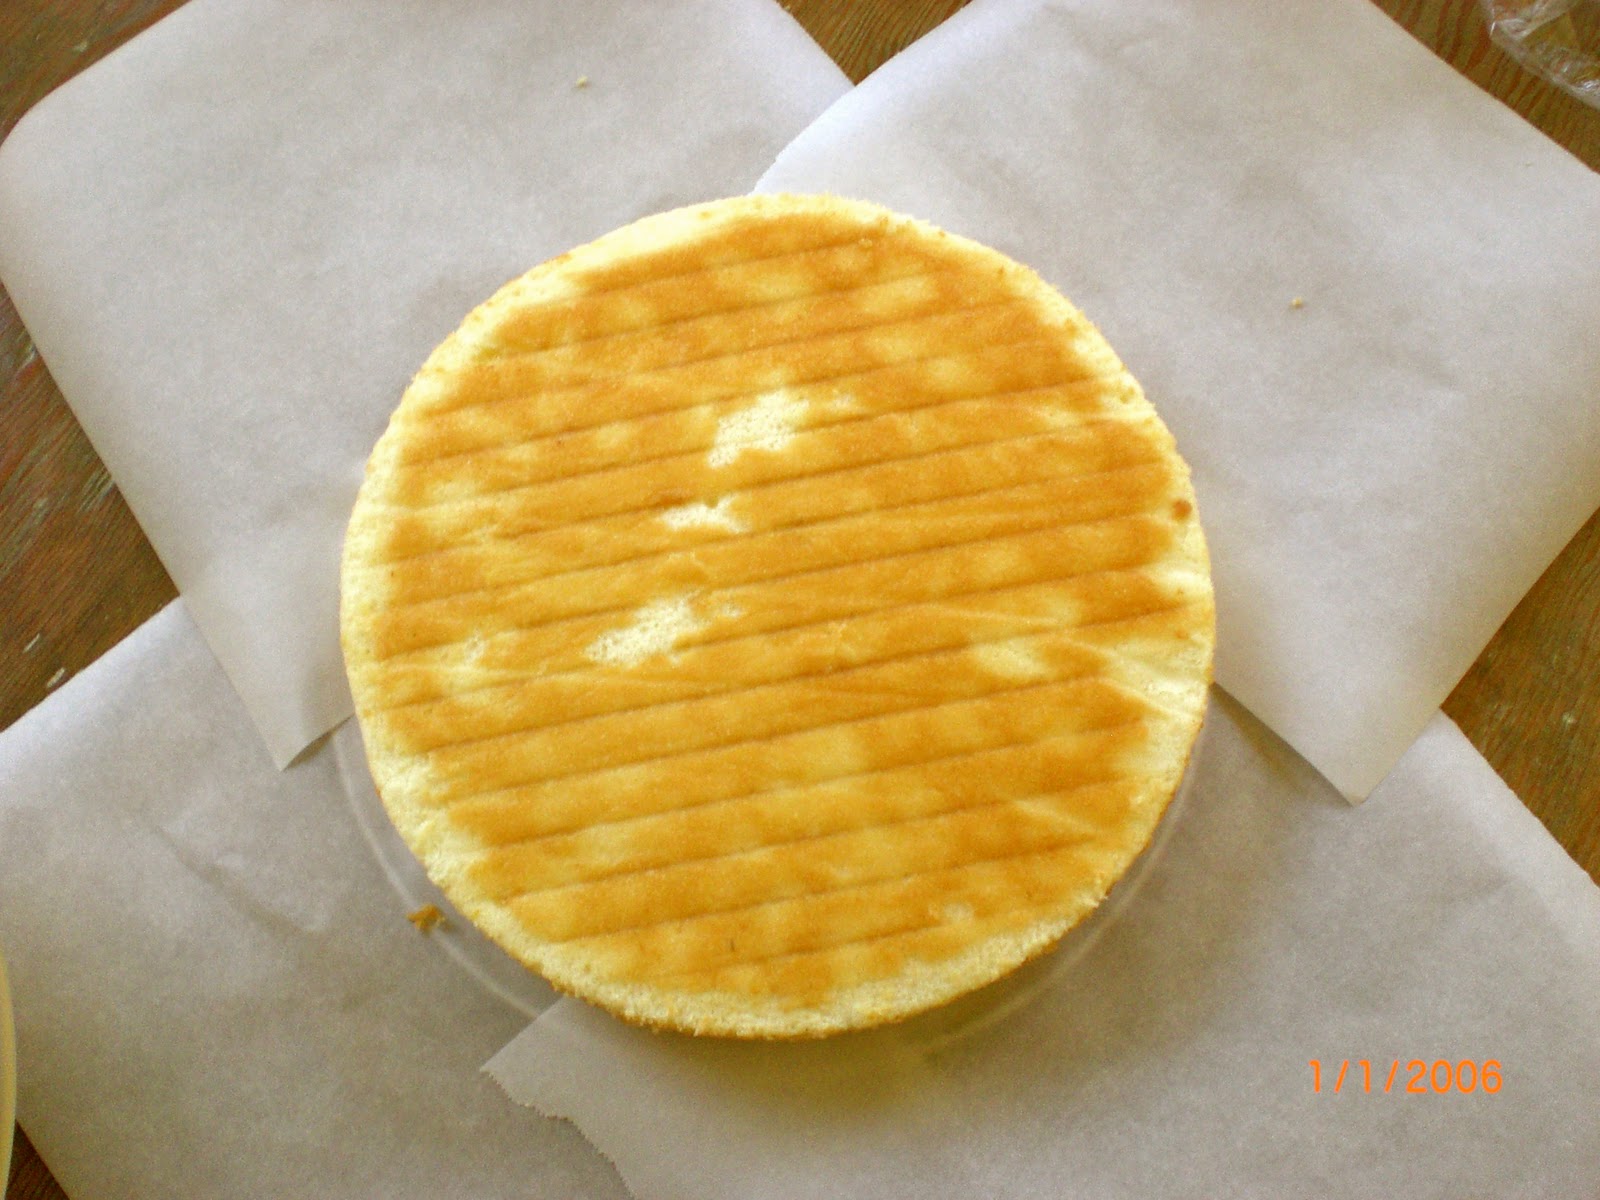
Get your first cooled cake and remove any dome that has formed in cooking. Just slice it off with a knife. You want both sides of your cake to be flat. Then, place the cut side down on your surface. You want the flattest side facing up for your next layer to sit on.

Grab your filling, lemon curd here, and put it on top of the first layer. Make sure it comes within a 1/4" of the edges and is thick enough that when you cut into it, you can see the filling layer. No one likes skimping on filling!
Cut the dome off your second cake, and place it cut side down into the filling and press to squish (that's the technical word) filling to the edge of the cake. Having the bottom of the cake on top ensures a completely flat and smooth surface for the top of your cake.

Next up is the crumb coat. For the longest time, this was the hardest part for me. But, it's essential! It keeps your frosting clean and crumb free. Starting on the sides, cover your entire cake in the thinnest layer of frosting. This thin layer will trap all your crumbs and keep them secure for the next coat of frosting. Place the cake in the fridge for 20-30 minutes. You don't want this layer moving around when you start working again.

After you pull your cake out of the fridge, it's time to really start frosting. Using a small offset spatula, or a butter knife, spread your frosting out over the cake. I tend to start by just slapping frosting here and there so I can see how far my frosting will go.

Then, starting with the top, smooth the frosting out. When you smooth out the sides, make sure you bring them up to meet the tops frosting. It'll create a neat little edge. You can frost it as rustic or a smooth as you like. I'm not such a perfectionist here, and really like cakes to look a bit more rustic. When you're done frosting, carefully remove your parchment paper.

Now, if I could just figure out how to make a butter pie crust, I would be happy. Someday :).