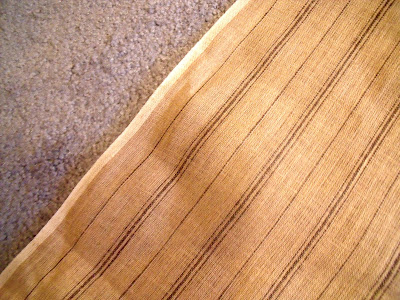
I'm back with a quick *how-to* make a curtain. This is so, so easy. Like I mentioned before, for me the hardest part of this process is always picking out the fabric. Too many cute fabrics to choose from!
One. Measure your window.
Two. Measure your fabric, taking into account seam allowances. I left a half inch on each side. I didn't measure for allowances on the top and bottom, because I like to hem once everything else is finished.
Three. Sew your sides. Fold the side over half an inch and pin. I also like to iron the seam here. It just makes it easier to sew. Then, sew a straight line to secure the seam.
Four. Sew your top. I wanted a little fabric above the rod. So, first I measure the rod space - one inch - and then a doubled it. So I folded over two inches, pressed, pinned and sewed into place.
Five. Rod space. To create a spot for the rod that was secure enough to bunch my fabric, and leave fabric above the rod, I cut the space in half and sewed a new seam. This left me with two one-inch spaces at the top.
Six. Hem the bottom. I actually hang the curtain from the rod at this point and physically measure how long I want the curtain to hang. I then pin it before taking it off the rod. As you can see above, I created a clean edge on the bottom, before I hemmed. To do this (it creates a cleaner look on the back), sew a quarter-inch seam and then fold the fabric for your hem, press, pin and sew. To leave less lines, and create a cleaner look, I sewed my hem line along the same line as my quarter inch seam.
{Final hem}
Seven. Hang your curtain. Step back and admire you handy-work and revel in just how easy it was to create a custom piece for your home! If you remember, I actually ended up not really liking this curtain. So, I created a new one.
Two (a). If you want to add painted stripes to your fabric, go back to step two. Measure out your fabric. You want to paint before you sew, so you don't have any wonky paint lines later. Yes, wonky is the proper technical word here.
Two (b). Tape off your fabric into stripes. Make sure the tape is really secure. You don't want leaks.
Two (c). Lay the taped fabric on a very flat surface and spray paint the not-taped spaces. I ended up doing two very light coats of paint. I also let it dry overnight, but this was just an extra precaution. It turns out that silver is sparkly all the time. I was hoping it was just still wet. Most colors will just need to dry for a couple hours.
Two (d). Once dry, return to step three and continue making your curtain panel.
I hope this gives some of you the confidence to try this on your own. Please let me know if anything is unclear or if you have any questions!


No comments:
Post a Comment
Your comments make my day! Thanks for stopping by and sharing! :)