3.11.2013

{renovate} kitchen REVEAL!

Friends, today is the day. I'm declaring the kitchen remodel done! As I mentioned in my last update post, there are still a few things left to do. But nothing on the list effects either using or looking at the kitchen, so I'll just update you when we get to them :). 


There are a couple things I need to mention before I get to a slew of before and after photos. The first is, we've been working on this kitchen since last memorial day. Just over 9 months. And I am so grateful that you guys were so patient and supportive and encouraging through the entire process. Thank you for understanding that we have jobs and we take vacations and we have other things that take up our time. I so appreciate you for still showing up and loving on our remodel! 

Second, I really need to publicly thank my awesome rock-star husband. Chris gave up so much in the last 9 months to get this project done and I know I don't thank him enough. Thanks, love! :) Most of you probably know that Chris bought this house way before he ever met me, and I just adore that he never bats at eye at my crazy schemes and I absolutely love that through each project, this house has really becomes "ours." Okay, end sap.

So, let's look at some photos! The befores are all from my original post detailing why on earth we were gutting the kitchen, instead of just updating :).

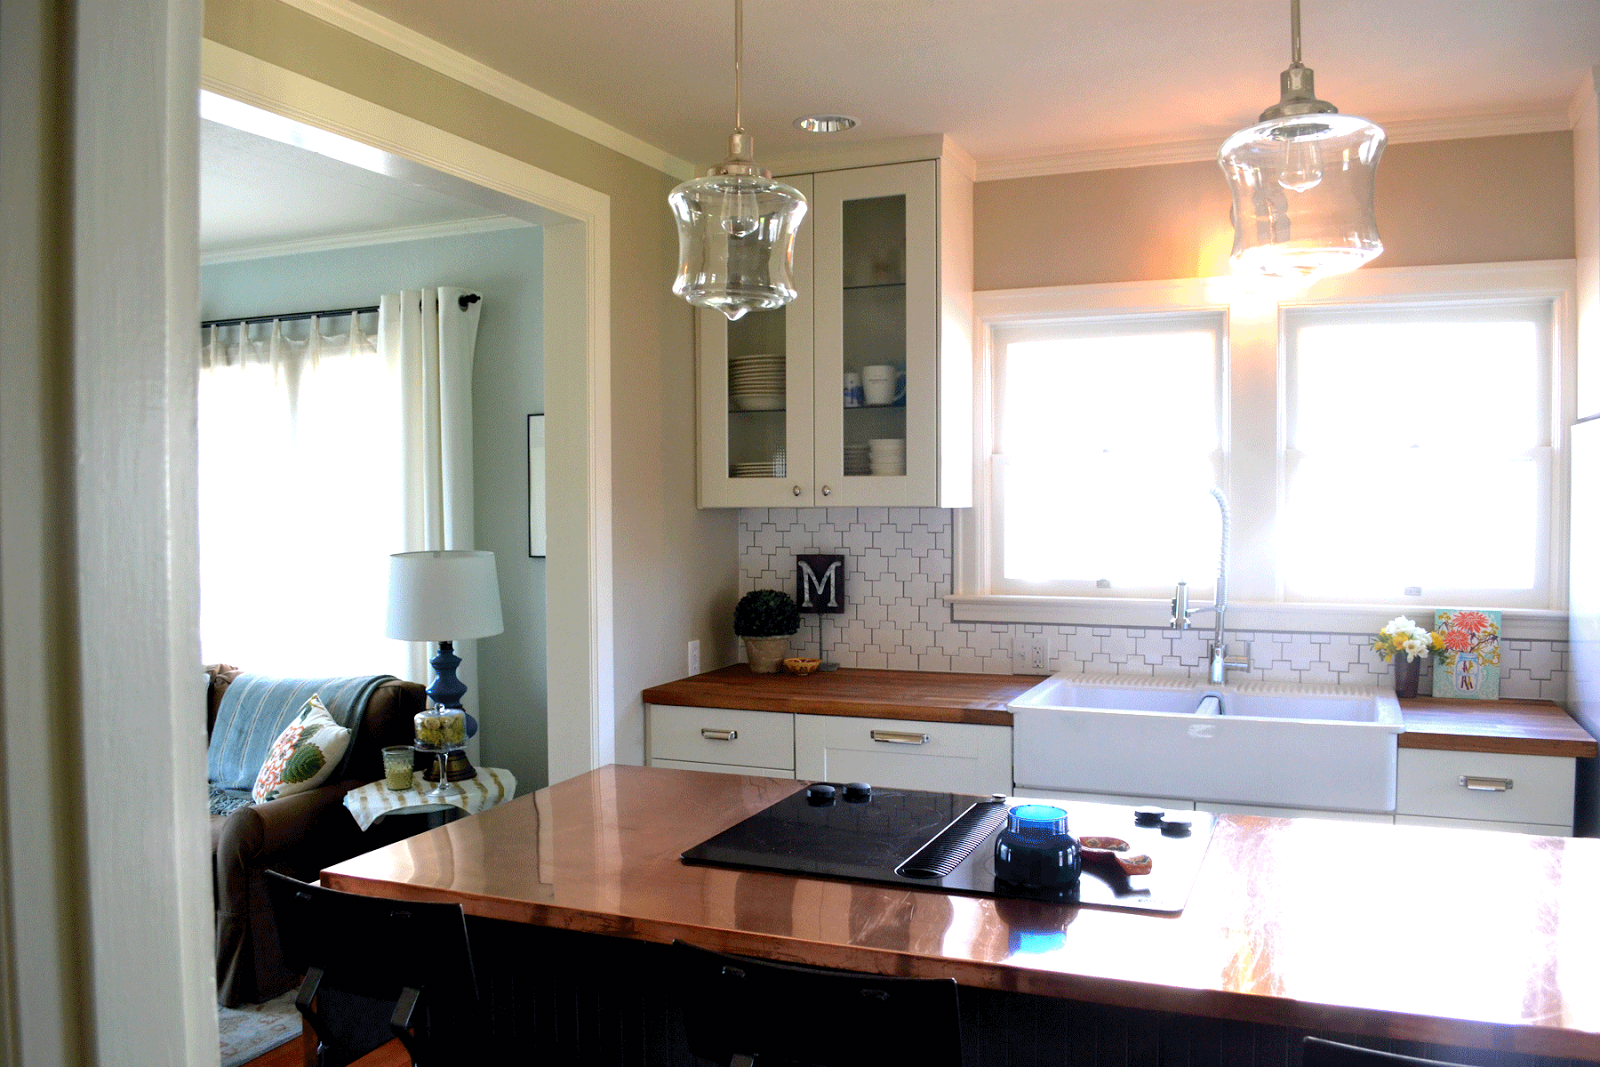
Taking down the wall between the living room and kitchen was definitely a game changer.


As is the island!


I was nervous about removing the cute original built in, but I so love having a wall mounted microwave/oven now. And, it saves us a lot of cabinet space.

And, here are a few photos from the nook:


Below are some more photos of the space, for your viewing pleasure. I took a ton over the weekend! I'll be back Wednesday with sources for everything. Friends, thank you again for following along through this huge process! :)


I'm sure it's obvious, but wow am I glad we're done!! :)

3.06.2013

{renovate} kitchen trim and grout

To say that we've been working our little tails off for the past couple weeks on the kitchen is an under statement. We have gotten so much done! In fact, dare I say, we might be done? I don't know if I dare say it. It still feels weird.

I need to clean/style before I show you true "afters," so in the meantime, let's take a look at our final to-do list and see how we did.

Cabinets:

All the doors are on. All the hardware in the kitchen is on. All the doors are straight and aligned. Yah! We do still have a weird little space next to the fridge we need to deal with and we have to replace and install the matching hardware in the hallway built in. But, that's the hallway, not the kitchen, right? :)
- Install two remaining fronts
- Fix alignment
- Install hardware in the hallway
- Install end cap next to fridge

Trim:


All the trim is painted! You guys, this is huge. I'm not sure it you can tell from the photos, but our kitchen and nook have A LOT OF TRIM. 3 doorways. 3 windows. Base molding and crown molding in both rooms. And you might be thinking that we didn't replace ALL the molding and you'd be correct. But the molding (around the windows) that made it through the entire remodel was so dirty that it needed to be repainted anyway. This little project took many, many hours. Other than that, there was a little weirdness on the kitchen windowsill that we fixed and we installed base molding beneath the dishwasher. You know, to hide all the cords and wires ;).
- Paint
- Windowsill extension
- Attached dishwasher trim

Tile:


We grouted! I was really struggling to choose between white and dark grey, so I compromised with light grey. In design, and in most of my life, I really try not to compromise - I usually just end up wishing I'd taken a firm stand, but in this case I'm very happy. The light grey is a great choice. It doesn't draw a lot of attention to itself, but rather it draws attention to the shape of the tile, which is really what I wanted to highlight. 
- Grout 
- Seal

Counter:


The leg is installed! It still needs the support system, but we have all the supplies and just need to get on it.
- Install counter extension leg
- Install counter extension support
- Paint under counter extension

Other:

So, we had these three random holes in our floor that were a sort of mistake. BUT, it's pretty hard to patch hardwoods and make it look like not a mistake. Our solution? We added little copper squares to cover the holes. They're pretty shiny right now, but they'll weather out and be a lot less noticeable over time. We were joking that we're drawing attention to a mistake! But, I like it and I think it makes the best of a weird situation.

We'd also accidentally bent the metal on the bottom of the oven, but we ironed that out and it looks good as new!
- Fill three holes in wood floor
- Fix metal trim under oven

So, there's THREE things left on our list!! Of course, all are a little time intensive, which is why they're left. The great thing is that none of these effect the appearance of the kitchen. If you looked at it right now it would look done. EEK! :) Of course that means photos coming SOON!! Next week, okay friends? :)


3.05.2013

{inspired} the antique show

Friends! I owe you photos from my kitchen. I ran out of light this weekend to take photos, so I'll take a few before work this week and get them up (hooray for it actually being light in the morning before work!). But in the meantime, I thought I'd share some photos from the antique show we went to this weekend. A couple times a year a huge antique show comes through town and I'm not sure I've ever gone. We thought we'd head over and check it out before we buckled town and painted our little hearts out in the kitchen.

We saw a lot of really great things. And a lot of not so really great things. You know, typical antique show fare :). A quick note about the photos: the lighting in this building was TERRIBLE and I was using my iPhone. So, the pictures aren't the greatest - sorry about that in advance :) With that said, here are some of my favorites from the show:

Love these little ice cream bowls. The sweet light coral color is great for spring and the display had me wanting to throw an ice cream party :).

There were a couple different colors of these tea cups and saucers, but all were lined with gold. LOVE. And want to figure out a way to diy this and still have it be food safe.

I love displays of matchbooks. So pretty.

And speaking of pretty - this collection of vintage containers was gorgeous. All the colors were so vivid and beautiful. A small grouping with a single flower stem in each would be so cute.

Granny chic? Maybe. But I think a cross stitch like this would look great on a gallery wall.

Letters. I always love letters.

I LOVE this lamp. The white parts were actually a really light blue, and we all know that I've been loving green and blue lately :).

I have a good/bad habit of only buying things that I KNOW I have space for. This is good, because I don't have a lot of un-used things lying around. On the other hand this is bad because I passed up some really awesome things! There are a few things I wish I would've bought this weekend, including:

This super sweet little stool. I'm still kicking myself. I love the color, the shape and the cute floral/shamrock pattern stitched in on top.

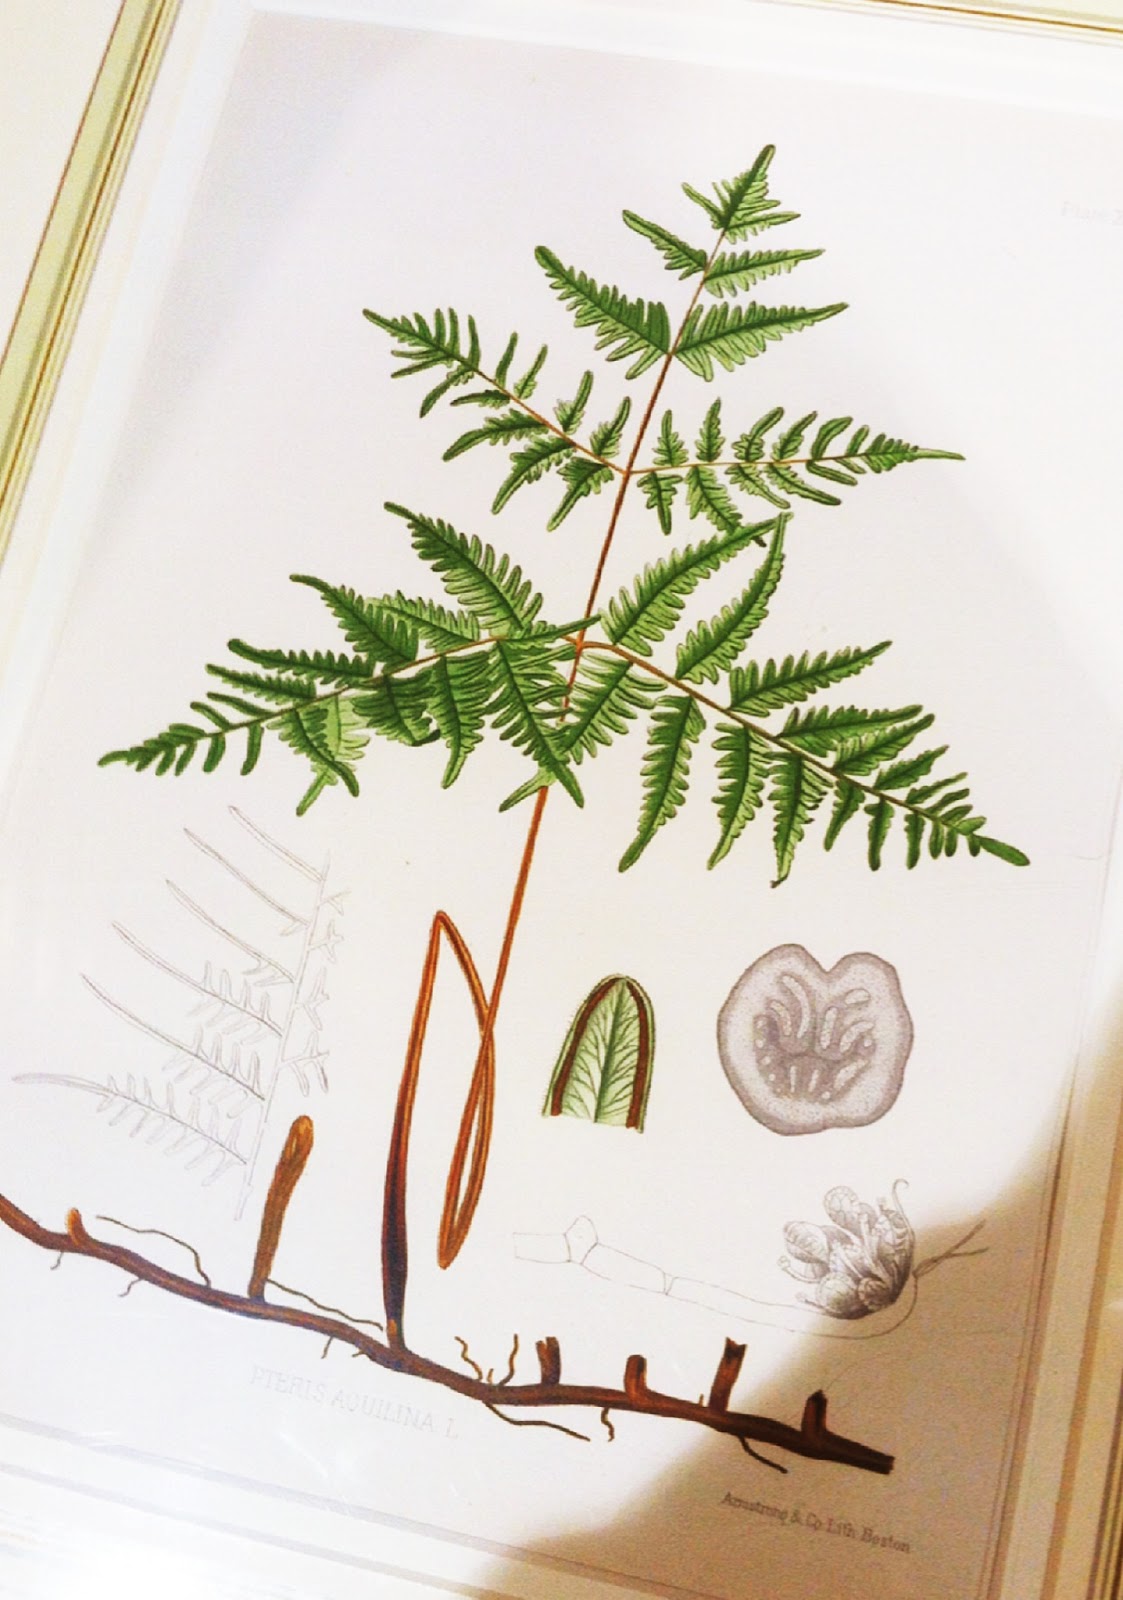
This botanical print! It was really sweet and the color was beautiful.


There were so many great trophies - I'm sure I could've found space for one at home.

After all that, though, we did not come home empty handed.

We brought home these fantastic copper cups. They need to be cleaned up a little, but that's easy! I'll make sure to show you the process for cleaning when I get to it :).

 The cups have these great rings at the bottom - sort of like plastic cups, except much cooler.


And this sweet little wheat embossing. I am so excited to use them!

Have you picked up any great antiques lately?