4.22.2011

{renovate} the back yard

I was so excited when Jane, from The Borrowed Abode, announced she was hosting a back yard redneck link party because, well, our back yard is pretty darn awful. There's a reason I never show it here! It was also perfect time to show you the *before* of our garden beds, because they're getting planted this weekend. The funny part is the day Jane announced the party, I came home to a freshly mowed and edged lawn ... and was so annoyed! HA! The pre-edged pictures would've been soooo much better, but our yard still screams redneck regardless :).

Here's the yard. It's full of weeds, and full of holes. But, it's a nice size and has lots of potential. I'm going to take you on a tour around the yard to give you a really good idea of its (our?) sad redneck nature.
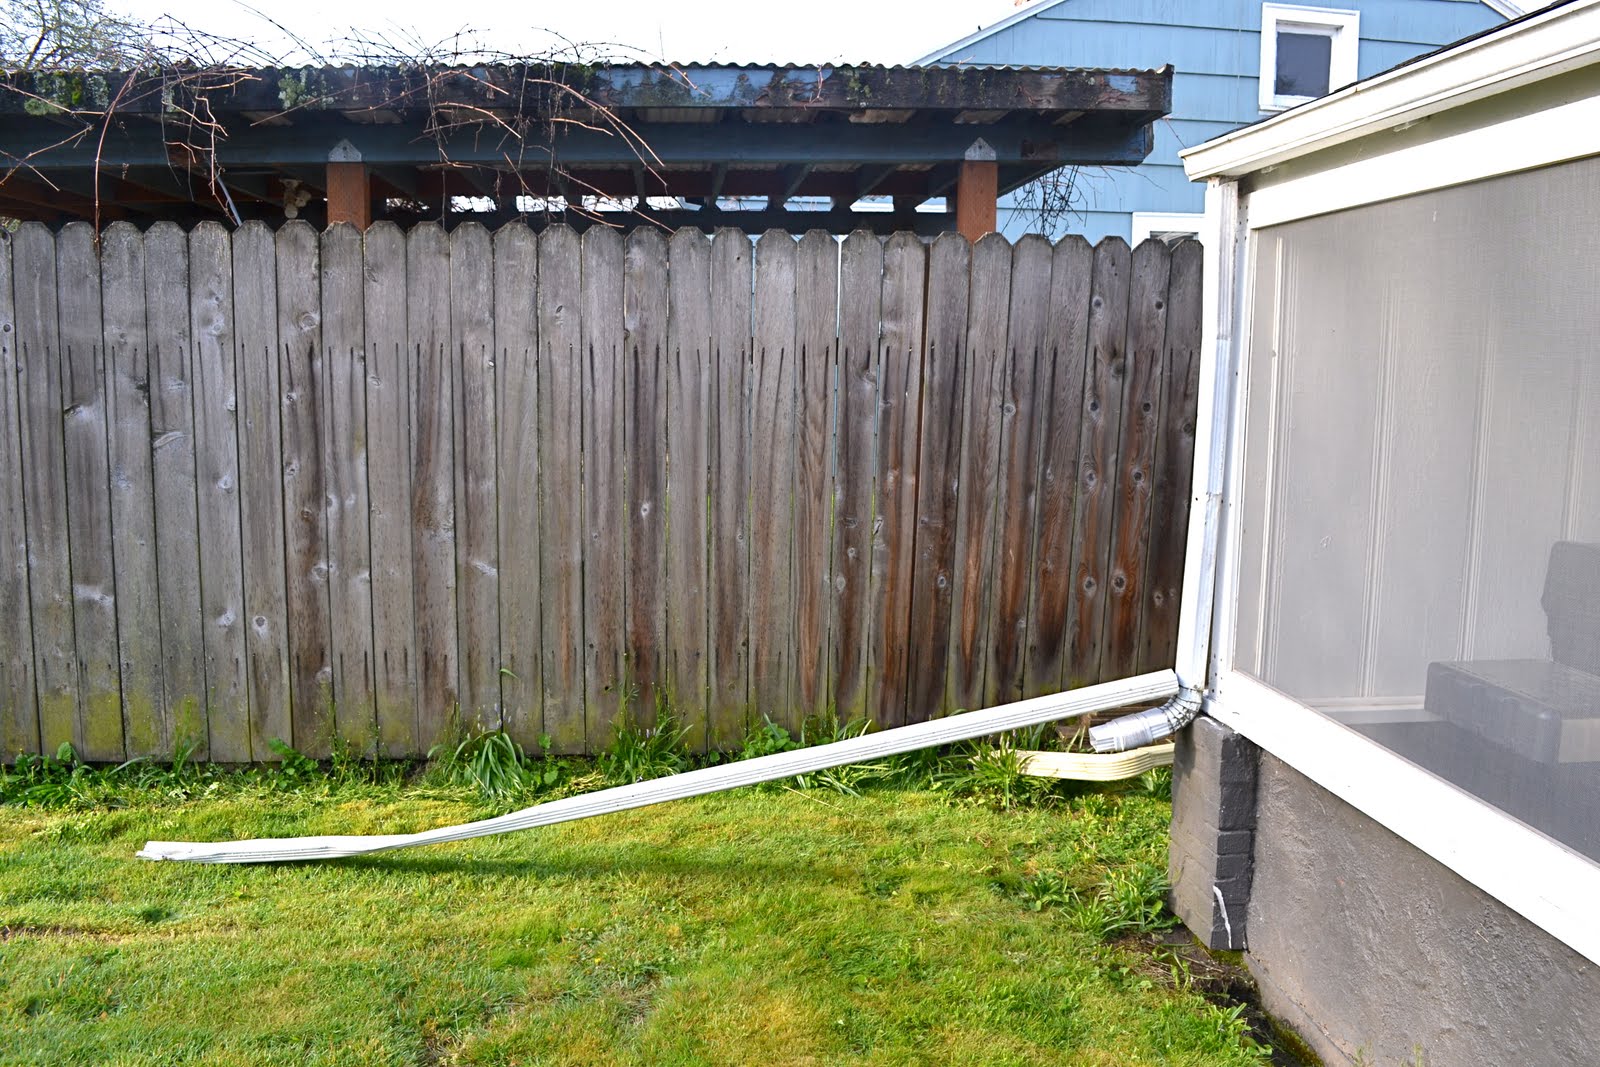
I don't know what's going on here. I know there are normal ways to hang gutters, so I just don't know why ours is this long. Oh, and if you look close, you'll notice that it's not even connected right now. Again, I don't know.

This is where I spray paint! As you can see in the first picture, it's right in the middle of the yard. Before Chris moved in, someone had chopped down a huge tree, which is just soooo sad! So, he removed the stump and had a huge hole. Obviously we made it a fire pit, which made for a few really fun parties. We filled the hole in last year when we thought we were going to get around to doing something with the yard. You can see how well that's going for us :). At least it gives me somewhere to paint.

Let's move to the back of the yard. So. Many. Weeds. Ugh. When I moved in I tried to keep this area weeded, but it just grows back so quick. I've semi given up. Which basically means at this point, the yard is winning :).

And, garden bed one. Just waiting to be cleaned out and replanted. And yes, those are dead tomato plants in the cage. Don't judge.

Garden bed two is actually worse!

But, as I was taking these photos, I discovered that my strawberry plant came back this year ....

... and somehow I have onions. Yah!

Along the back fence. See earlier comment about the back yard winning.

Behind the fence cracks me up. Um, outdoor storage area anyone? Usually Chris keeps tires back here too, which obviously just adds to the lovely decor. Luckily, you can't really see back here from the back porch.

And, to round out our tour is the Shanghai sign. Chris was at a swap meet last month and texted me a picture of the sign. I said, um heck no. Where on earth would we put that? He said, completely uncharacteristically (we always discuss big purchases), that he already bought it. Um yeah. Now we have a 14-foot Shanghai sign. In our yard. She said bitterly. :) We really don't have a wall big enough to hang this, so I'll keep you updated about what we do with it. Or, more realistically, how long it sits there!

So that's our redneck backyard! The problem is that I'm not a landscaper, or plant person really, and I have NO ideas for the yard. So our backyard will most likely remain pretty close to this until inspiration hits. If you'd like to see others redneck back yards head on over to The Borrowed Abode. You know, to make you feel better about your own yard! :)

So I'm curious .... any outdoor plans for you guys this summer? Any landscaping projects planned? And, how are you gardens coming? More on ours soon! :)

4.20.2011

{renovate} back entry sources + a lesson

Thank you all for the sweet comments about our back entry! I loved reading each and am so glad you all liked it. I'm still pretty giddy about it, honestly. And, I never thought I'd be giddy about something like an updated back entry :). 

As I mentioned in the reveal, and in last week's week-by-week summary, our house made this project a little more difficult that it needs to be. The walls of our 1928 house are not perfectly straight. Nor is the room perfectly square, which made matching corners tricky. There was a lot of custom fitting happening here. That said, I'd originally wanted to give you all a tutorial, but under the circumstances, there was no way. But, if you love this look and want to give it a try yourself, Kate at the Centsational Girl gave an incredibly helpful tutorial here. It's what Chris read for basic guidelines before he got started.

So, instead of a tutorial, I thought I'd give you a list of sources + a quick in depth look at how we accomplished the stair makeover. Stairs, I learned, are incredibly tricky and we found a couple creative ways to work around the issues and still make the stairs beautiful.

Back entry sources:
Please let me know if I've forgotten anything, or if you have any questions.

And now, for the stairs. I already mentioned that I'd wanted to tear them up and rebuild so they were a two-toned work of art. You know, stain on the treads, paint on the risers. Something similar to this:
As I also told you though, stairs are tricky and this is the ONLY part of by grand plan that my contractors (you know, hubs + a friend :) said no to. Once they explained how much work and extra time it would take for only FOUR steps, I agreed. But, I still wanted the look. And, I might have still pouted a little. :)

Above is what we started with. The reason they look SO disgusting is because they were once covered with carpet. And, you can't see this by looking at them, but they were loose and squeaky.

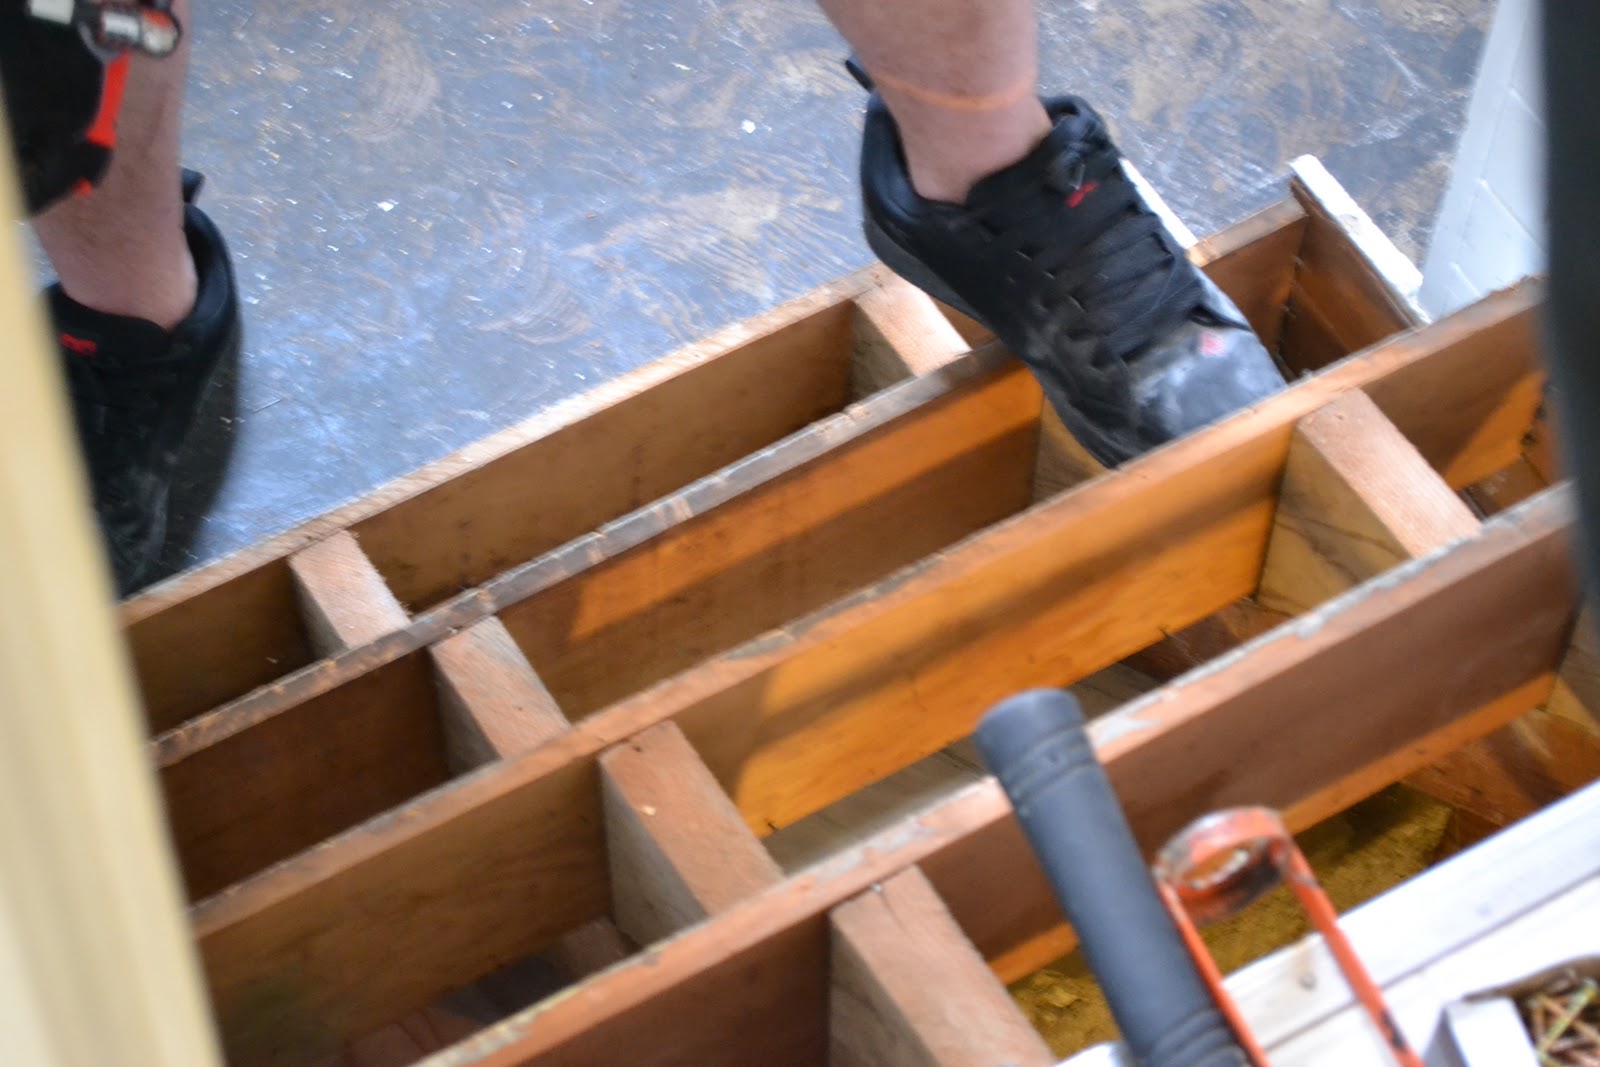
So, the boys started by tearing the treads off and reinforcing the structure so the stairs are tight and no longer squeak. Huge improvement.

With that done, there was two main problems to tackle before we could paint. The risers were fuzzy and the treads were full of holes. First I tried to tackle the risers. When I say fuzzy, I really mean fuzzy. The dark areas in the picture above are glue that the carpet pad had stuck to at some point, which left a thin layer of fuzz. Also, each color you see above is also a different layer of paint. You can see on the right, where the yellow is, that I tried to scrape everything off to achieve a smooth surface. But that tiny little bit of scraping took about an hour and a half. I was so frustrated, and so close to tears.

Easier to tackle were the holes in the treads. See how big they are? Apparently the carpet and pad needed lots of screws and nails to stay in place! Wood putty became my new best friend during this hole project, but especially on the stairs. Not only did it beautifully hide all the holes, but I also used it to fill the scratches and create a smooth tread.

Here you can see Chris' amazing solution to my riser problem and the wood putty working it's magic on treads. Chris saw how frustrated I was with scraping and determined that even if I spent all the time scraping, it would never be perfectly smooth. And we wanted smooth. So he refaced the risers with a 3/4" plywood (same material as the walls). It worked out beautifully! And, saved us so much time.

Next was the super easy task of painting them. First I primed with an oil-based primer. I really dread using oil-based paint ... so messy! But, oil-based primer really does work best to protect bare wood, in my experience. And since these stairs get super heavy use, I wanted them well protected!

After priming, I painted the risers, then taped off the treads and painted them. I wanted to make sure we had a nice, clean line. We chose to paint, instead of stain, because of all the hole patch work they needed. It was just too much.We went with a deep gray because it really compliments and picks up on the colors in the tile.

The result? A two-toned stair that we LOVE. They are smooth and look brand new, even though we simply worked with what we had. 

If there is a lesson to take away from this friends, it's that there are many solutions to home improvement problems, and sometimes you just need to get creative. I hope seeing this encourages others -- especially those with older homes -- to take a chance and tackle a project that might seems too huge and impossible. There were are budget friendly and beautiful solutions around every corner.

So, any one out there have to put a *creative* spin on project lately? I'd love to hear about it!

4.18.2011

{renovate} back entry reveal!

Update 9/13/11: I am updating this post a bit and submitting it to Abode Love's Roomspiration party! Please pop over and take a look at all the great linked up entryways :).


It is a GREAT day! The sun is shining and over the weekend I saved all my lovely back entry photos from their hostage: the camera. Which means: BACK ENTRY REVEAL! I'm so excited about this reveal. Seriously. This has been a labor of love for both me and Chris. And, I realized this weekend, it's the first actual *construction* project we've tackled. Needless to say, it's boosted our home confidence a notch, and makes dealing with other scary house projects (I'm looking at you bathroom) a little less daunting.

Without further ado, here's a reminder of the before of all befores. What the room looked like when I moved in, circa 2008. Primer white, nasty torn linoleum, an extra fridge (?), a door that didn't fit and dirty, dirty, dirty:

And, here's our new back entry!
Light, clean, open and even a little spacious feeling :).

Here's the room just before we started the project. When we were *making-due* till we could tackle it:

And, today:
We painted the entire room, added board and batten, new tile, and painted the door for a fun burst of color. We added hooks for hanging coats and my purses and a bench for plopping things down on when we walk in the door. New artwork adds some personality and a potted plant adds some life.

The ceiling before:
A previous roof leek had bubbled and damaged the existing paint (luckily, not the plaster), and the brass chain light was falling out of the ceiling:

Ceiling now:
Newly painted ceiling, and shiny new light. You might remember that I specified a Schoolhouse Electric light on the mood board. Sadly, it didn't work out this time. Chris had found the fixture a few years ago on super discount, and we'd saved it for this room, but none of the Schoolhouse Electric shades I wanted fit into the fixture. We looked at buying an all new fixture + shade, but it was close to $200. In the end, the $5 shade from Home Depot was just too good to pass up. But, mark my words, I will one day own a Schoolhouse  Electric fixture :).

Stairs before:
The stairs at the beginning of the project. Originally, they were actually carpeted (with the same horrible blue as the hallway/back bedroom), I just don't have a picture. They sat like this, though, for a couple years, so they're an accurate before :).

Stairs today:

Details:
As I mentioned, we painted the door blue for a lovely little pop. It's by far the best part of the room. We LOVE it. The sign above the door we picked up at an adorable antique store on our annual birthday trip last year. We have no idea where E. Lake Ct. is, but we love the graphic nature of the sign, and it reminds us both of that super fun trip.

This little red tray was an afterthought. It quickly became apparent that the bench would be huge mess if we didn't corral keys, wallets, movies to return, etc. I was so excited when I remembered this tray! It was a wedding gift from someone I absolutely adore, but I'd never found the right place for it. Not wanting to get rid of it (and, that is how I roll. If we aren't using something, I usually donate it), I'd stored it away. Turns out, it was simply waiting for it's new home in our back entry! 

I didn't want to spend a lot of $$$ on art. I LOVED the art that I pulled for the mood board. I actually ordered the Kite Hill print, but Chris and I agreed that it just doesn't look right in this room. I already have other plans for it, so look for it popping up in a different room :). I framed a piece of my favorite chevron fabric, and pulled this letterpress print from the living room. It's way better here. As for the Make You Own Path art, I loved the actual letter press, but it would've been WAY too small for the space. So, I made my own using a bike map of Portland and letters printed at my local Fast Signs. I really like how it came out, but there are a few things I'd do different next time. Live and learn, right? :)

Close up of the art.

Close up of the small shelf that wraps all around the room.

I'll be honest, sometimes I just sit on the stairs admiring the room. And, the blue door. Thanks for all your support over the last 3 (THREE!) months of this project! You guys were so great and patient through all the updates and seemingly endless amount of time it took. HAPPY MONDAY!

If you'd like to read more about this 3-month project, go here, here and here.