
Looking for a fun weekend project? How about creating your own stenciled table runner?

This is a great project because you can actually finish in a weekend. I love projects that don't have to sit and stare at me, unfinished, during the week.
Stenciled Table Runner
Materials:- Burlap fabric (quantity depends on size of table runner)
- Contrasting thread
- Stencils
- Stencil paint (see below)
- Foam brush
- Iron
Method:
1. Sew your table runner(s). I don't have photos of this, but it really is super simple. Based on your table, decide how wide and long you'd like your runner. I like my runner to just barely, if at all, hit people at their legs when they're seated. You don't want your fabric pooling on guests legs!
2. Add 1/2 inch per side to your final measurement for your seam allowance. Measure out your fabric and cut to size.
3. For this runner I went for really simple sewing, which for me means no complex corners! Start with your long side. Fold each side in half and inch and press with a hot iron. Trust me, this step will save your sanity. Sew the length of your fabric, on both sides, with a simple straight stitch to secure in place. Then, fold your short sides in half an inch and press with a hot iron. Sew both sides.
4. It's time to stencil! Choose your words. Have fun it: funny, witty, sweet. There are many directions you can take this project. Since I was making three runners, I went with: eat. good. food.

5. Lay out your stencils exactly as you'd like them on your fabric. Since my words were going in the middle of the fabric, I took the runner to my table and made sure the stencil location made sense for the end result.
6. Put your fabric on a paper bag, or surface you don't mind getting dirty. Your paint could bleed. Then grab your paint.

7. I found this paint: Stencil Magic Paint Creme at the craft store. At first I was a little hesitant. When I opened the container I actually thought it was all dried up and I needed to take it back. Turns out, it almost has a grease-like consistency, which works great for stencils because it won't run.
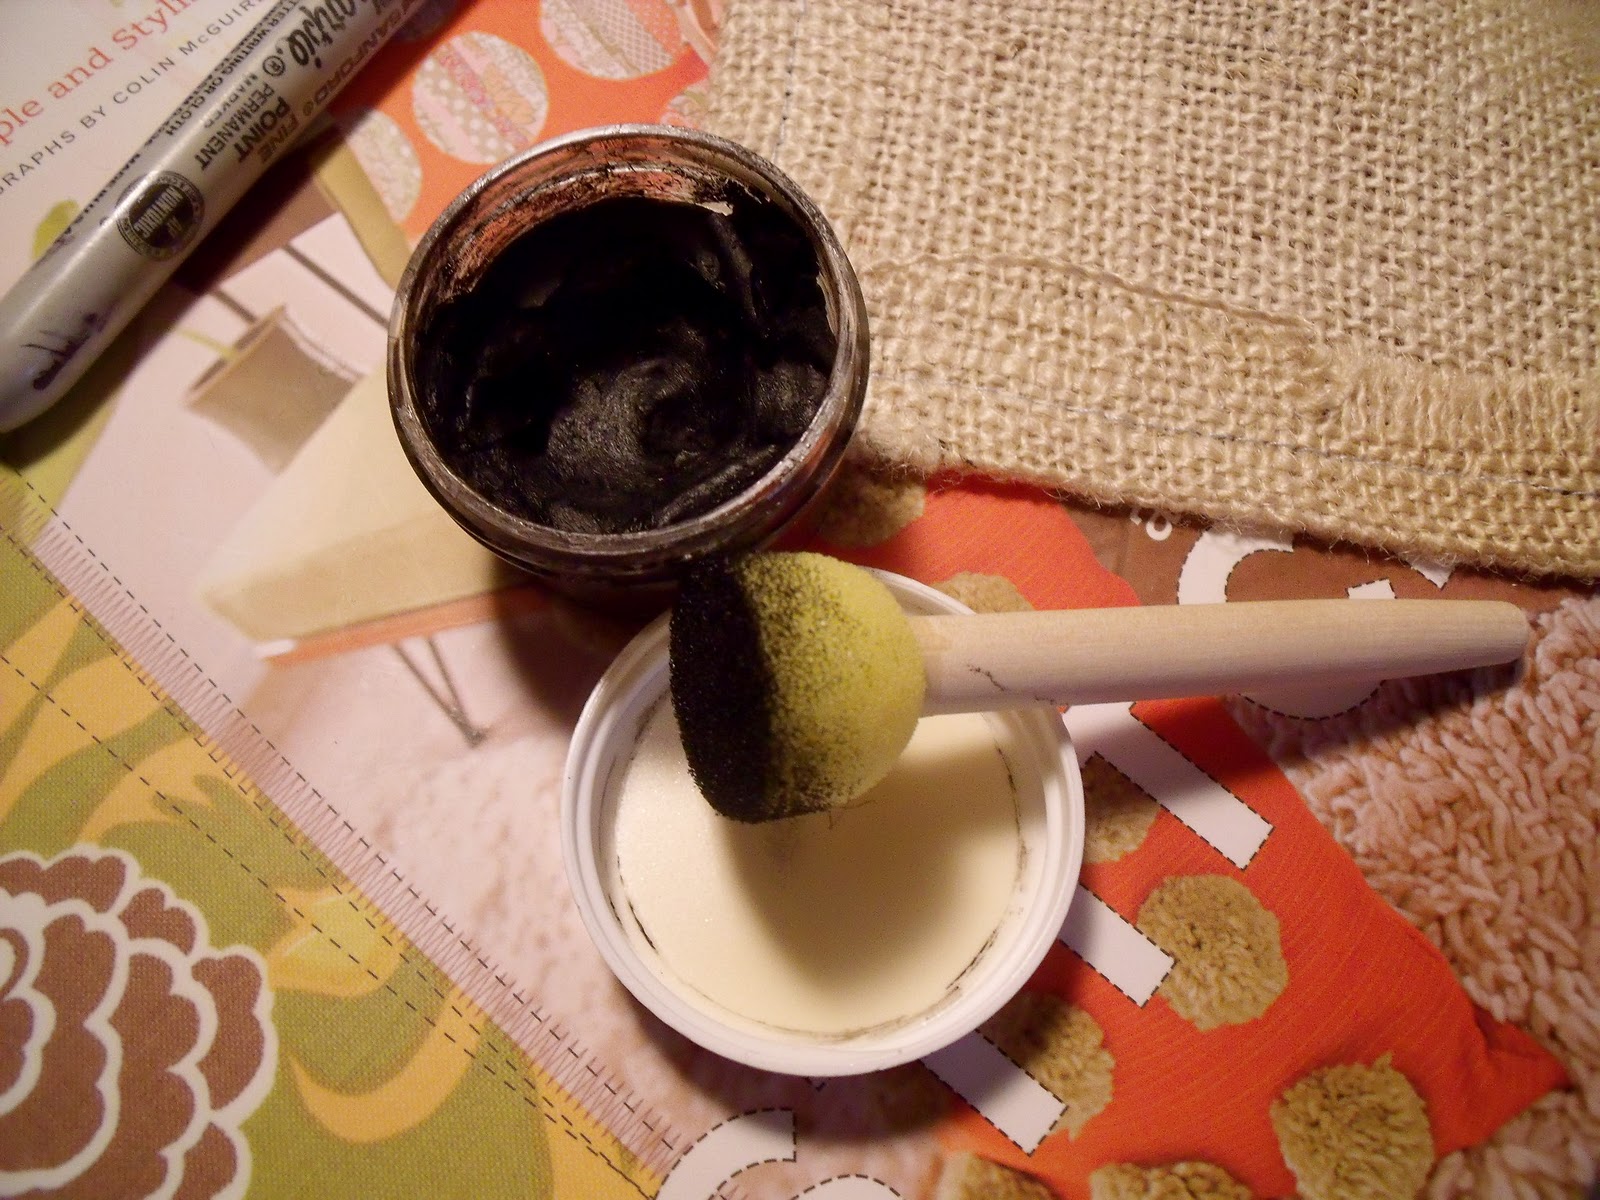
I recommend a foam brush, especially with this paint. It was easier to dab the paint onto the stencil than to brush.

8. Dab your paint onto the stencil. Make sure to hold the stencil very still to avoid smudging. It'll go on in light layers. Keep layering until you have the paint coverage you're looking for. Especially with the burlap, it took a little more paint than I thought it would to get the color as bold as I wanted.

9. Once you feel like you have good paint coverage, carefully remove the stencil. Pull it straight up off the fabric so, again, you don't risk smudging.
10. Move onto your next letters, repeating the above steps.

11. Once you're done, stand back and admire your handy work. And of course the most important step? Plan a special dinner so you can promptly put your new table runner(s) to good use!

Please let me know if anything is unclear, or if you have questions. And, if you do make these, let me know. I'd love to see the results! :)
Have a fantastic weekend friends!


I love anything on burlap!
ReplyDeleteWhat a fun project!
I love this! What a great project :)
ReplyDeletelove the burlap...great job!
ReplyDeleteWhat a great idea. This turned out amazing!!
ReplyDeletei live in the portland area, where did you find burlap to buy?
ReplyDeleteHi Portland Mommy! I can't remember for sure, but a more than likely it was at Fabric Depot, because they have EVERYTHING :) (http://www.fabricdepot.com/)
Delete