
Happy Monday friends!
Since I moved in, I've been debating what to do with the window above our kitchen sink. We painted the kitchen, we hung cafe curtains in the nook, but still I was at a loss for this window. The window lets a lot of light into the kitchen, but it just needed ... something.

At first, I was going to do roman shades. But, I wasn't sure I would actually ever close them. So what's the point? But without anything, it was just so .... boring.
Then last year, Jenny at Little Green Notebook posted a tutorial for Pelmet Boxes. I knew immediately this is what my kitchen needed. But then I was stuck on fabric choices (And, now you see why all my projects take SO LONG!). Well a few weeks ago I found the perfect fabric in the form of a discounted table cloth at Target. Score!

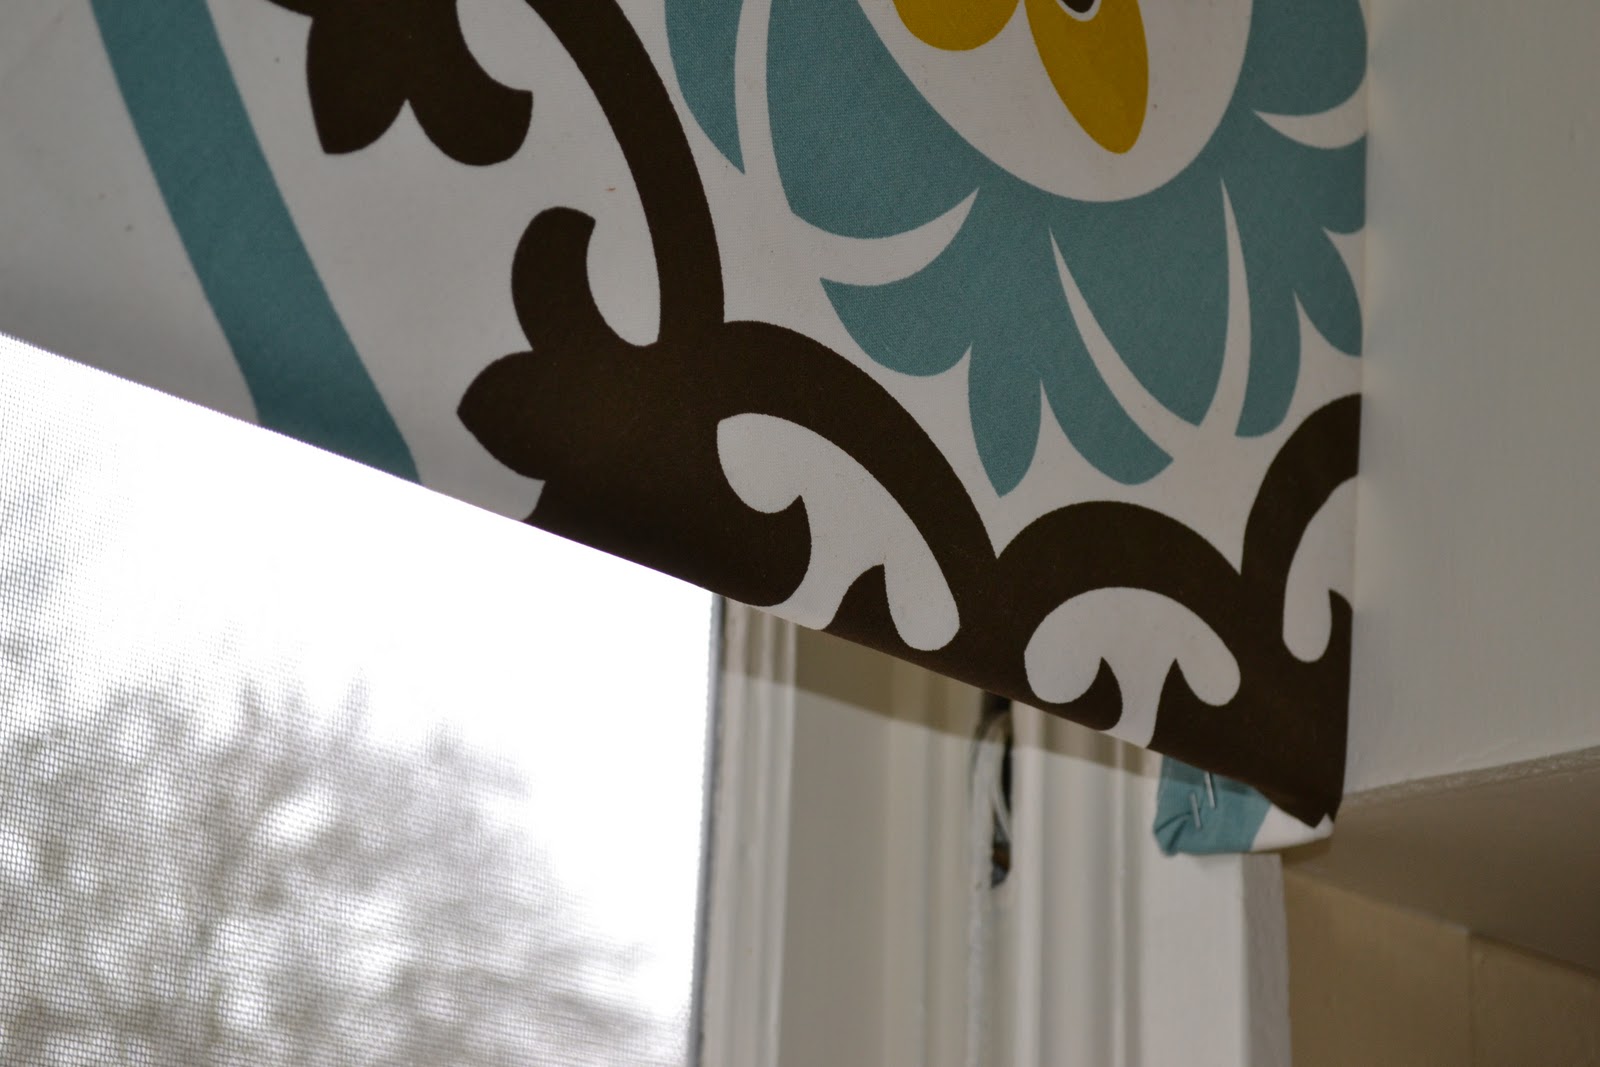
So, only a year or so after the original spark of inspiration, I constructed my own pelmet box!

The bright fabric makes a world of difference in the space. It adds just the right hit of color, without being overwhelming. It dresses the window, without blocking light. And it adds a dash of fun that I think a lot of kitchens (especially mine before this!) are missing.

A huge added bonus is how easy this project was. It took about an hour and a half from start to hanging finish. And, in the process I learned just how empty my life was before I'd held a staple gun. Yah for power(ish) tools!

(Love fresh flowers! How amazing are Ranunculus? I love it when they begin appearing in the spring!)
So tell me, what's something in your house that drives you crazy, but you're not sure how to fix? Or, has there been a time when you were stuck on a project for a long time and once you completed it you realized how easy it was?
Thanks for stopping by today! :)
ps. I'm linking up to Krafty's Kats link up party! Come check out all the other Krafty goodness here.


I desperately need another shelf in my closet. After ruining a drill bit, I came to realize that the walls of the closet are concrete (no idea why). So then I got a new drill bit, which works. But the hole it makes is slightly bigger than all of the screws I bought for the shelf mounts...which means I still don't have a shelf, 9+ months later. I need to buy some new screws and see if I can get this thing working...I'm just not sure if bigger screws are going to fit into the brackets and the other hooks I bought. Which means I might really be back to square one!
ReplyDeleteoooh I remember seeing her tutorial! GREAT JOB! <3 I need to run to target STAT! I didn't know dwell ANYTHING was on sale -- mind giving me a heads up on the markdown/ haha i'm nosy! <3 and I totally want it if the price is right -- but to make something else out of it!
ReplyDeletexoXOxo
Jenn @ Peas & Crayons
LOVE _ LOVE _ LOVE! This is what I want to do in my living room/dining area.
ReplyDeleteHmm...I always end up forgetting to finish projects, then realizing how easy it is to do. Trying to tackle that with my office this week. It was all supposed to happen in January...so March 1st is NOT ok! :)
That looks awesome! And I'm still at a complete loss on our bedroom.
ReplyDeleteI went to Jenny's tutorial, saw how easy it was and realized it was the answer to a dilemma at my house. I have a pair of windows that have "high water" curtains -- the ones that end a few inches short of the baseboard.
ReplyDeleteI always (like daily) tell myself, I need to add a border, but now I see that a pelmet is an easier, cheaper, and more interesting solution.
I'll lower the curtain rod to make the curtains hit the floor, then make a deep pelmet box that goes almost to the ceiling.
Thanks for the idea, the instructions, and the inspiration!
Pink Overalls at DIY Home Staging Tips
Thanks for the replies ladies!
ReplyDelete@Pink Overalls ... I'm glad you found a solution! Let me know when you've created it ... I'd love to see!
That is gorgeous! I love the print you chose, it is just fabulous :)
ReplyDeleteI would love to do something like that above our sink but seeing as we have metal upper cabinets, I'm not sure a staple gun would help me...lol...definitely will be keeping this in mind for our next apartment/house!
Have a great Monday!
I love this and have scheduled a feature of it for today at Extreme Personal Measures. That fabric is fabulous!
ReplyDeleteDenise
Extreme Personal Measures
THIS IS GORGEOUS! I so need something like this for over the windows in our breakfast nook. By the way I bought the matching kitchen towels to that tablecloth and was all proud of myself...I didn't see the tablecloth! Now I am going to go back and search for it. So awesome! I will let you know if I actually figure out how to do this project and get it done. :)
ReplyDeleteCan someone say "Beautiful"! I absolutely love that fabric you chose- it totally brightens up your kitchen! I would love to try to make one of these. Great job (I love staple guns too)! Sharing this on Facebook & thanks for linking up this week!
ReplyDeleteDenise and Kat, THANK YOU for featuring my project elsewhere! How exciting! :)
ReplyDeletejenn this looks amazing! i have never seen this before but is IS the perfect solution for livening up a window. SCORE on the fabric. I just may be trying this myself!
ReplyDeleteSuch a great pop of pattern and color! And I'm a sucker for using table cloths and other assorted textiles intended for different uses, as window treatments. My own kitchen has a tablecloth turned into a valence. Nice job!
ReplyDeleteCathy
A tablecloth? Genius! This looks so good. I usually get hung up on fabric too. I just get something in mind that I want and can never find it anywhere, ugh!
ReplyDeleteSeriously...the tablecloth conversion is absolutely brilliant!!!!!!!!!!!!!
ReplyDeleteVery cool!!
ReplyDeleteHappy Thursday! I am blog hopping today and I am so happy I got to stop by your blog!!
Please come by and visit either or both of my blogs and become a follower (if you aren't one already):
So Stylilized is where I am currently offering FREE Custom Blog Designs at http://sostylilized.blogspot.com
Jessicas Lil Corner is my family blog at http://jessicaslilcorner.blogspot.com
Have a very blessed Thursday!! :0)
I love this! You just solved a design dilemma that I had for my kitchen too! I'm making this asap - thanks!
ReplyDeleteJenn, we're definitely on the same brain track. I also used a clearance tablecloth and Little Green Notebook was definitely the inspiration for the project. Funny. I love how this box & fabric so perfectly fit your kitchen & give the window that little something you were craving.
ReplyDeleteHi there! I've been looking through your blog and your home is beautiful!!! The moment I saw the before and after of your homes exterior I knew the inside would be lovely. Great job!
ReplyDeleteYour window look beautiful - I just love the fabric you've picked too! I've got this linked to my pelmet boxes tutorial today too, nice job!
ReplyDeleteOh my god that looks amazing! I used that same fabric for a curtain in my pantry last year!
ReplyDeletehttp://salvagelove.net/2011/07/31/suzani-fabric-pantry-curtain/